For $50.00 or under you can purchase a Zipit Z2 Wireless Messenger at amazon.com or ebay.com and make yourself an inexpensive mini Linux laptop/hacktop!
There are several different Linux distributions for the Zipit Z2:
http://www.notanon.com/zipit/different-linux-distributions-for-the-zipit-z2/2010/05/30/
My favorite flavor of Linux for the Zipit is the Root Nexus image http://zipit.rootnexus.org/ which has the most updated version of Debian, Debian SID. The Ubuntu image is wonderful also, but is a work in progress, and some of the hardware drivers are not quite working yet. The Ubuntu distro shows great promise though and I am sure all the bugs will be worked out soon.
The most popular distribution for the Z2 is the Aliosa27 image, which uses an older stable version of Debian and the Fluxbox window manager. Hunterdavis.com has a wonderful instructional video and article on how to flash the Zipit Z2 and install the Aliosa27 image: http://hunterdavis.com/archives/201
Also http://designate72.info/?p=139 and http://quantumlime.com/zipit have great articles on flashing and installing Aliosa27′s image. And, one of my favorite shows online, Hak5 of the Revision3 network has one of the most thorough and highest quality demos of flashing and installing a Zipit Z2 with the Aliosa27 Userland image and the Root Nexus image: http://revision3.com/search/search?q=zipit
And, youtube.com, of course, has many of the before mentioned videos and other how-to videos for the Zipit Z2: http://www.youtube.com/results?search_query=zipit+z2&aq=2
Now, on to hacking your Zipit Z2!
Hardware requirements:
- A computer running Linux of course

- A Zipit Z2 Wireless Messenger
- A Micro SD card (Preferably 2Gigs or higher)
- A Micro SD to Mini SD Adapter for your Zipit
- A Micro SD USB Reader or a Micro SD to Standard SD Adapter for your computer
Files you need to download to your computer:
First we will flash the Linux kernel onto the Zipit:
- Extract the contents of the AutoFlasher-r2.zip file you downloaded on your computer to the root of your Micro SD card
- Extract the zipit2-audio+x+mouse.gz file to an easy to find location on your computer
- Find the file zimage-2.6.29, and copy it to the root of the Micro SD card along with AutoFlasher files you extracted earlier
- Rename the file zimage-2.6.29 to kernel.bin
- Make sure your Zipit has a full battery or is plugged in
- Take the Micro SD card you just prepared on your computer and put it in the Micro SD to Mini SD Adapter. And then put it into the Zipit Mini SD slot
- Turn the Zipit on and the Linux kernel flashing will begin
- Once the flashing completes, remove the SD card from your Zipit
- Then boot up the Zipit and you should see a screen that says OpenZipit with a Tasmanian Devil Linux Penguin and a solid cursor in the top left of the screen!
- You have just successfully flashed your Zipit and completed the hardest part of hacking Linux on your Zipit Z2
Now for the fun part , Imaging Debian Linux onto your Zipit Z2!
1. For this tutorial we will use Aliosa27′s popular Zipit Z2 distro at http://aliosa27.net/projects/zipit2/Debian-Z2.tgz
Download it to your computer
2. Extract the image file to an easy to find location on your computer
3. Plug the Micro SD card back into your computer. Don’t worry about the files on the card. The imaging process will delete them.
4. Open a terminal and as root find the location of your SD card. I like to use the command fdisk -l to list all hard drive partitions/external devices and their locations
5. Use dd to copy the extracted image from the computer to your SD card. Change name_of _image.img to the name of your image and change sdx to the device location of your SD card:
dd if=name_of_image.img of=/dev/sdx
This command will write the image to your SD card, and set up proper partitions. You will not receive any feedback from the terminal, but you should not get any errors either. This could take a while to complete, 20 or 30 minutes, so be patient!
6. Once the command finishes, remove the SD card and put it in the Zipit. You should boot into Debian and be prompted to login. User is root, and password is debian. If you can login successfully you now have a working version of Debian installed on your Zipit! Yeeaaahhhh!!!!!
Although, the name of the image might be different and your login may differ, this technique works exactly the same for any Linux distribution you download for your Zipit Z2. Have fun experimenting!
When in Terminal:
- Make sure to change your root password with the command passwd in a terminal.
- Run apt-get update to update the repository lists.
- Then apt-get install any applications of your choice!
- Use startx at the command line to start the Fluxbox etc. window manager.
I love the Window Maker window manager so I have been having fun
customizing it for my Zipit
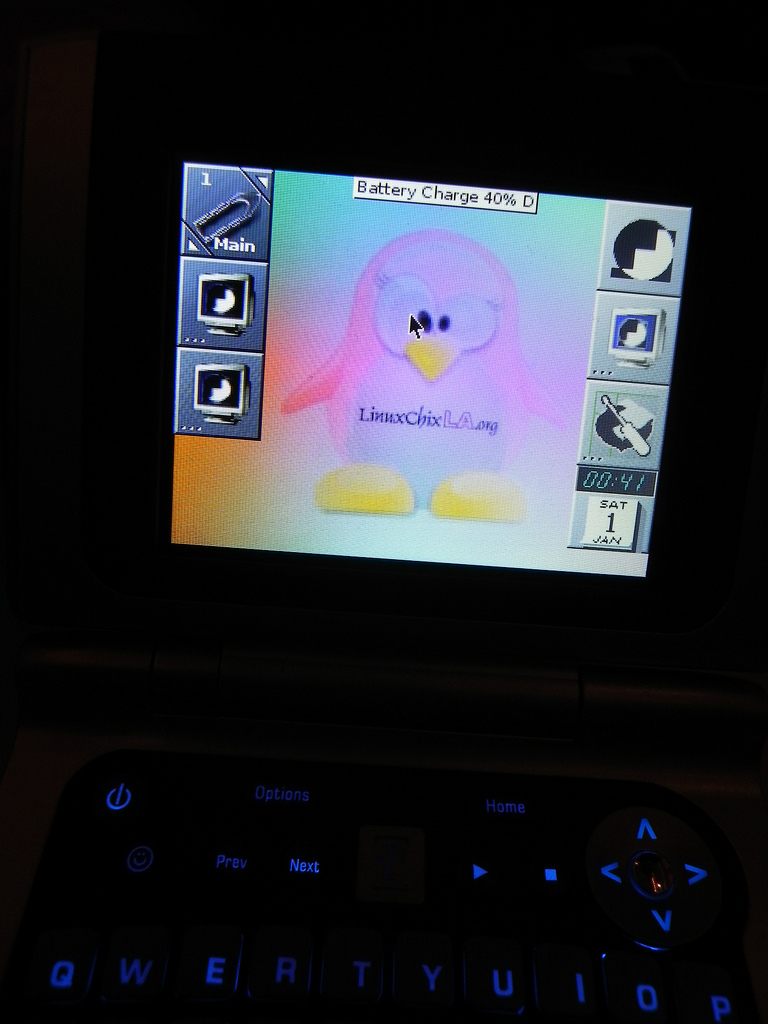
When in a Window Manager:
Pushing the [Options] button on the Zipit will enable mouse mode via the arrow keys on the top right of the keypad. The middle button in the center of the arrow keys is the right click and the stop/play buttons to the left of the arrow keys function as the left click. Clicking [Options] again will enable keyboard mode once again. The “…” key is the Ctrl key for the Zipit keyboard. And I have discovered that when it is in mouse mode the number keys become F1, F2 respectively.
Special thanks to
http://designate72.info/?p=139
http://www.mozzwald.com/node/50
http://zipit.rootnexus.org/
for the contents of this article
Jill Bryant
/jillix
jillix@linuxchixla.org
LinuxChix LA:
www.linuxchixla.org
Created in Debian Linux for
SCALE 9x LinuxChix LA
Booth #8!